Geared up and ready for wet weather trail riding
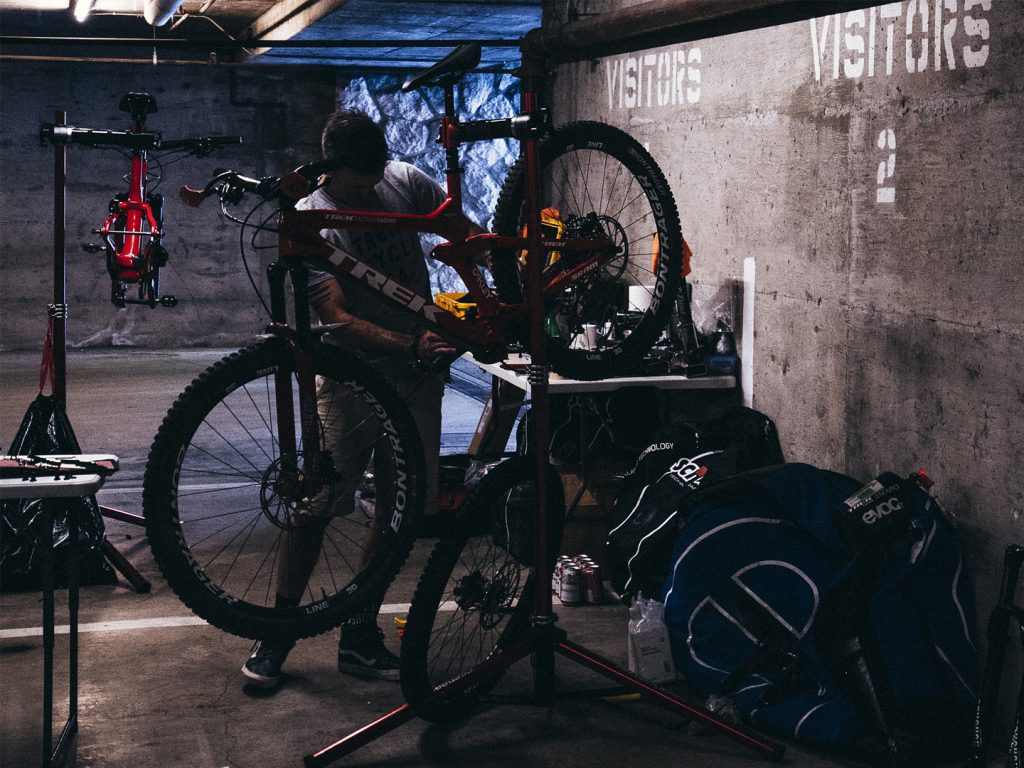
Whether you ride through the wet and wild of winter or pack away your bike in storage waiting for warmer days, the long nights, cold temps, and short daylight hours provide plenty of time to give your bike a little extra love. Tuck into the garage with your warm beverage of choice and your lucky wrench to learn our top tips for tuning up your bike over the winter months.
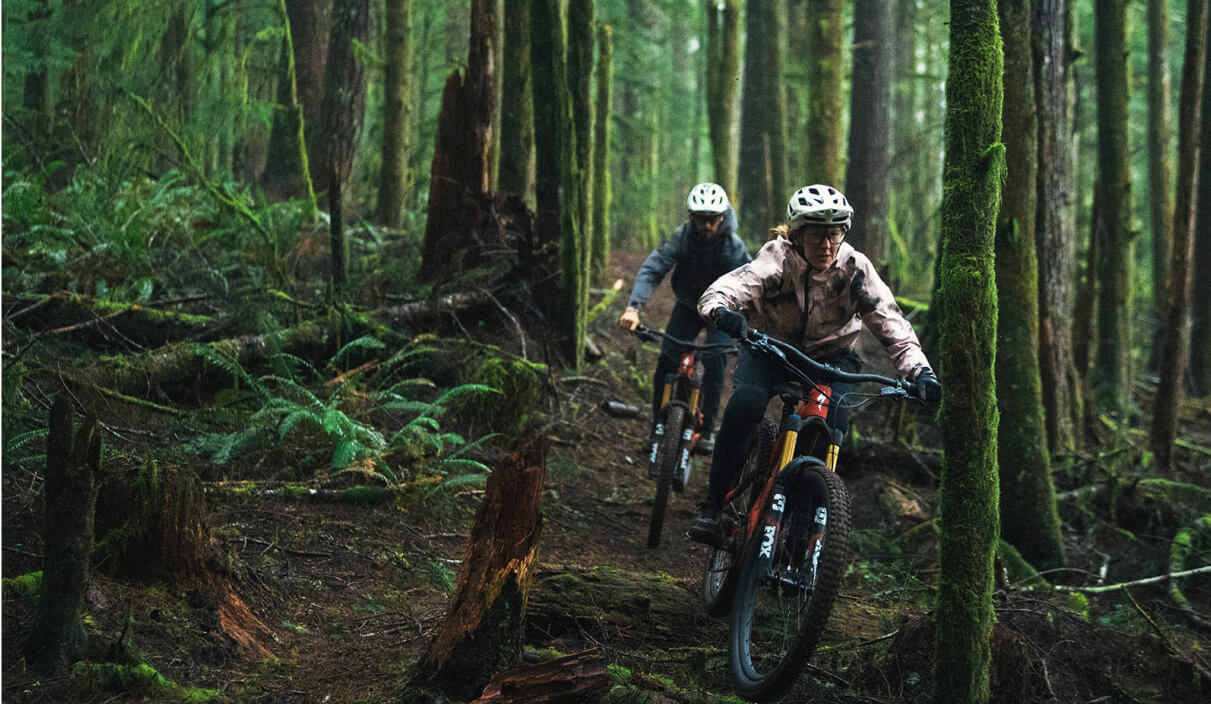
Riding in autumn and winter brings some of the most exhilarating days on the trail— unfortunately, these good times often come at the expense of our bikes. Major mud, trail debris, rain, and snow can put the hurt on your drivetrain, gum up bearings, and fill pivot points with grime. The good news is, during these colder months we have a lot more time indoors, so instead of binge-watching your next series this weekend, take a few minutes to give your bike some love. You’ll be thankful for many rides to come.
10 tips for transforming your winter-worn ride into a spry and fresh steed.
1. Paint it black (but not literally)
Some of us never left our teenage goth phase behind, but even if you embrace a wardrobe full of color we recommend donning a black-on-black outfit for diving into bike maintenance. There will be grease, dirt, and debris that stains most clothing but hides within black hues. If you don’t have a solid black outfit you’re willing to get dirty, toss on a shop apron or clothes you don’t mind getting stained before diving into the grime.
2. Clean your dirty steed
It is best practice to rinse your bike after every winter ride to prevent mud from caking on or freezing to your frame, but this is even more important when you’re about to bring it into the workshop. Keep your workspace clean by giving your bike a good scrub down with bike wash spray and your handy brush set, then rinse with gentle water pressure, being careful around bushings, seals, and bearings to avoid pushing mud into them. Wipe down your bike with a clean cloth, and take the time to clean the seals on your fork, dropper post, and shock if you’re riding a full suspension before you bring it into the shop.
3. Chain love
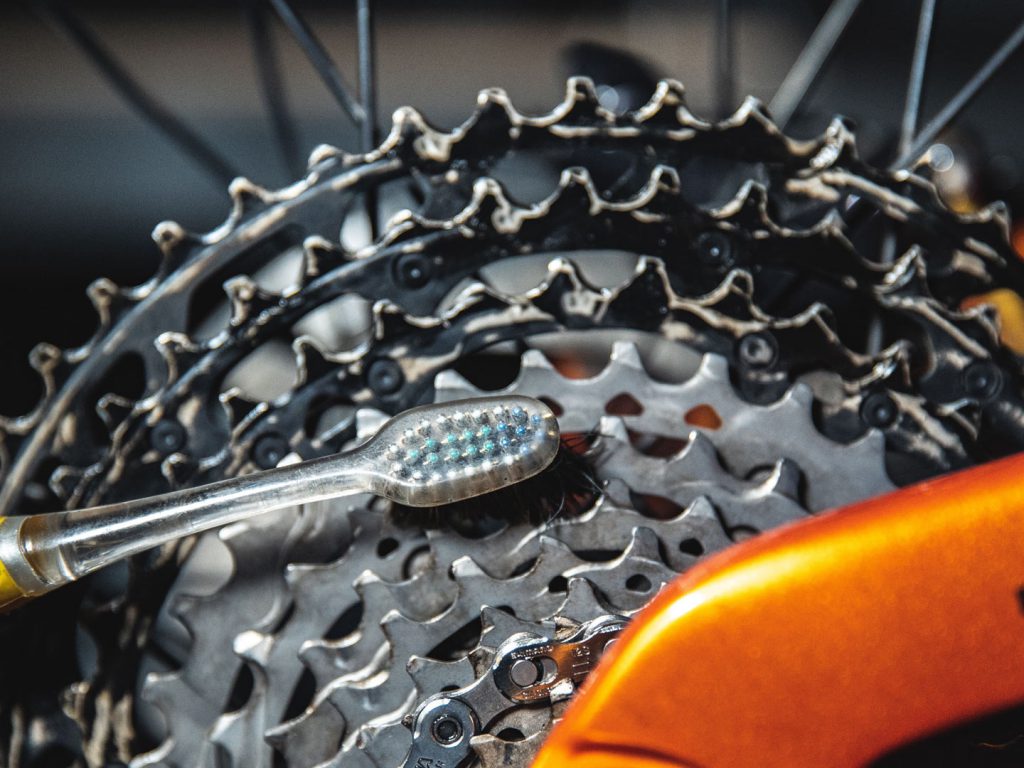
Set up your bike in the stand, and use a chain cleaner or old toothbrush to clean every link of your chain, taking time to inspect each link for wear. Your chain tends to wear faster than any other part of your drivetrain, and taking time to deeply clean it will help prolong its life. Once your chain has been fully cleaned, lubricate it with a wet lube and allow 5 to 10 minutes for the lube to penetrate the rollers and links of your chain. Wet lube is preferable over dry lube for winter riding due to its thicker viscosity. Wipe your chain to remove any excess lube with a clean, dry rag to prevent dust and dirt accumulation.
4. Protect your frame
To help keep future water and mud rolling off of your ride, spray protective sealant on a clean rag or shop towel and wipe down your frame. Avoid spraying protective sealant directly onto your frame, as it can cause issues if it comes into contact with your brake pads or rotors.

5. Check the nuts and bolts
Using a torque wrench, tighten each bolt on your bike to its specific tension requirements. A torque wrench is especially important when tightening bolts around carbon components and on the frame, where overtightening can cause cracking and serious damage. Work front to back beginning with your front axle and brake adapter, moving up to your stem, headset, shifters, and brakes levers, then down to your cranks, up towards pivot bolts, seatpost, and seat collar, and finally back down to the rear end of your bike focusing on the rear brake adapter, derailleur, and axle.
6. Wheel talk
Give your wheels a once-over. Check the tires for wear on the tread, and swap to a new tire if they are in need of some love. Top up your tubeless setup by removing your valve core and using a small bottle of sealant to add a couple fresh ounces of flat protection to your tire. Replace the valve core and pump back up to your desired tire pressure. Take a few minutes to check your spokes— spokes are often forgotten about through the riding season, so give them a quick pass and hand-tighten any that feel a little loose.
7. Looking shifty
Shift through your cassette top to bottom and bottom to top to make sure everything is shifting precisely. If it isn’t, tweak the limits on your derailleur to better align it, or bring it by your local bike shop for help getting it shifting just right.

8. Brake power
Remove the pads from your brake calipers and inspect them for wear. If they have a glazed-over look, use a piece of fine-grit sandpaper to scuff the surface of the pads and remove the buildup. Check how thick your brake pads are—if the fins on your brakes stick out further than the brake pad, chances are you’ve only got a couple of rides left in them, and it’s time to replace them with a fresh pair.
9. Pump it up
It’s unusual to lose much or any air in your suspension over the season, but it’s always worth taking a few minutes to check it out while you’ve got your bike in the shop. Check the pressure in your fork and rear suspension using a shock pump, and make any tweaks you need to dial in your suspension. Finish giving your suspension a once-over with a touch of suspension spray on the stanchions to fight stiction and keep things moving smoothly.
10. Bearings in mind
Polish up your bike’s key bearings for a smoother ride. There’s a lot of debris that comes with winter riding, and cleaning out the gunk will prolong the life of your components. Pull your crank to clean your bottom bracket, and remove your fork to clean all of the bearings in your headset, then grease them so they’re ready to take on the frozen trails ahead.
